Choosing a Clear Adhesive Sealant looks simple until the joint must survive moisture, movement, and sunlight. In practical projects, appearance is only one part of performance. A Clear Adhesive Sealant should match the substrate, service temperature, and expected stress. Glass, metal, ceramic, painted wood, and many plastics can behave differently. I have seen neat-looking repairs fail because the surface held dust, moisture, or oily residue. Small details matter.
A reliable choice begins with the product technical data sheet, not only the front label. Check the curing method, application temperature, flexibility, shrinkage, and resistance to water or ultraviolet exposure. Confirm whether the sealant bonds directly to your materials. Some formulas require a primer, while others may stain sensitive surfaces. A transparent bead is not automatically suitable for every project. Manufacturer guidance and relevant test information offer stronger evidence than casual online recommendations. Still, published performance can change under real conditions.
Before applying the final bead, test a small hidden area and allow full curing time. Watch for clouding, weak adhesion, bubbles, or unexpected surface damage. A short trial can reveal problems early. Clean, dry surfaces usually improve consistency, but preparation methods must suit the material. The correct joint depth also affects movement and durability. This guide compares the main selection factors, practical application steps, and common mistakes. It also recognizes an uncomfortable truth: there is no universal best sealant. The right product depends on the project, and even careful choices sometimes need revision after testing.
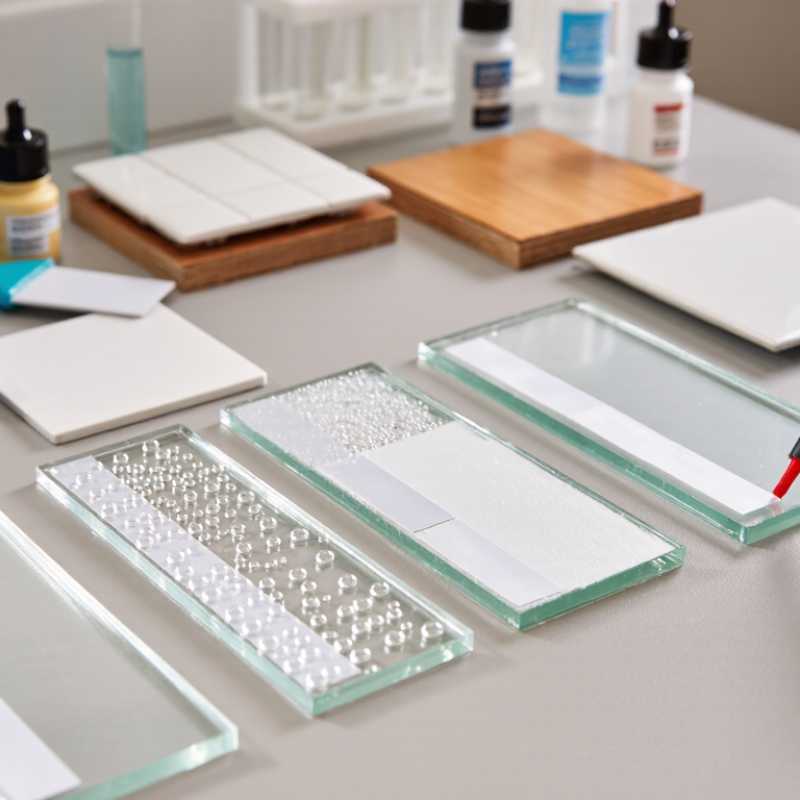
Clear adhesive sealant combines bonding strength with flexible protection. It can join materials while blocking moisture, dust, and minor air leaks. Its transparency is useful around glass, ceramic, metal, wood, and finished surfaces. However, “clear” does not always mean invisible after curing. Some formulas may develop a slight haze or yellow tint over time.
Look at the sealant’s flexibility, curing time, and temperature resistance. A flexible type suits window frames, trim, and areas exposed to vibration. A faster-curing formula helps with small repairs, but it may allow less adjustment. Read the technical data carefully. Surface compatibility matters more than appearance. Smooth glass needs a clean, grease-free surface. Porous wood may require light sanding and extra curing time.
I once applied sealant to a damp surface. The bond looked fine, then lifted at the edge. That shortcut was a mistake. Clean both surfaces and let them dry fully. Apply a narrow, even bead, then smooth it with a suitable tool. Test a hidden area first, especially on painted or delicate materials. Some sealants release a strong odor during curing, so ventilation is important. Keep the joint undisturbed until it reaches its stated cure time. A small test often reveals problems before the final application.
Choosing a clear adhesive sealant starts with the materials, not the tube. Glass, ceramic, metal, wood, and plastic each react differently. Glass usually accepts clear sealants well, but dust and oily fingerprints can weaken the bond. Ceramic needs a dry, slightly roughened edge when its glaze feels unusually smooth. For metal, check whether the surface is painted, bare, or prone to corrosion. Plastic can be difficult. Some plastics release additives that prevent proper adhesion. Test a small hidden area first. It is often skipped.
The joint’s movement also matters. A rigid sealant may crack where a window frame expands or a countertop shifts slightly. Choose a flexible type for joints exposed to vibration, temperature changes, or occasional moisture. For porous wood, seal the edge before applying the adhesive. Otherwise, the material may absorb the sealant and leave a weak, uneven line. On nonporous surfaces, clean with a suitable solvent and allow full evaporation. Do not rely on appearance alone. A clear bead can look perfect while remaining soft underneath.
In practical use, I apply a narrow bead, press the parts together, and remove excess before skin formation. Follow the stated curing time, especially in cool or humid rooms. I once handled a repaired trim piece too early. The surface looked cured, but the center had not bonded. That mistake changed my process. Ventilation, gloves, and a compatibility check are basic precautions. They make results more repeatable. If the sealant turns cloudy, shrinks, or stays tacky, investigate the surface, temperature, and product age.
A clear adhesive sealant must bond firmly without becoming brittle. Strength matters when joining glass, metal, ceramic, or sealed wood. However, maximum strength is not always the best choice. A rigid sealant may crack when materials expand at different rates. I once selected a strong formula for a sunlit metal frame, but seasonal movement caused edge separation. Small test, big lesson.
Flexibility should match the joint’s movement. Check whether the sealant remains elastic after curing, especially around windows, panels, and vibrating equipment. Curing time also affects practical results. Fast curing can save installation time, yet it may reduce adjustment time. Temperature, humidity, joint depth, and airflow can change the stated curing speed. Read the technical datasheet carefully. Test a small hidden area before full application.
Durability depends on exposure, not appearance alone. For outdoor use, assess resistance to ultraviolet light, rain, temperature changes, and cleaning chemicals. A clear product can discolor or lose adhesion over time. Inspect the surface after curing, and avoid applying sealant to dusty, oily, or damp substrates unless permitted. Reliable selection comes from matching product data with actual site conditions. When conditions are uncertain, consult a qualified technician and record the test results. Performance claims should be verified, not assumed.
How to Choose the Best Clear Adhesive Sealant?
Clear adhesive sealant should remain visually clean after curing. Check the technical data sheet for transparency, haze, and yellowing resistance. ASTM D1003 measures haze as a percentage, so lower haze usually means a clearer finish. However, “crystal clear” can change under sunlight or heat. Test a small bead on the actual surface first.
Safety also matters during application. Review the safety data sheet for volatile compounds, skin warnings, and ventilation requirements. The U.S. Environmental Protection Agency recommends reducing indoor pollutant sources and improving ventilation during product use. Weather resistance needs careful checking. Look for ASTM C920 or ISO 11600 classifications, plus test information for UV exposure, rain, temperature changes, and joint movement. A sealant may survive rain but fail after repeated expansion.
Tips: Match the sealant to the surface. Glass, metal, wood, painted walls, and plastics may require different adhesion levels. Clean away dust and oil, then allow proper curing time. Use a narrow, steady bead. Too much material can trap moisture and look cloudy. My practical mistake was judging only the wet appearance. Cured clarity mattered more. Do not rely on one impressive specification. Check application temperature, service range, flexibility, and removal needs before purchase.
| Sealant Type | Typical Appearance After Curing | Transparency | Typical Shore Hardness | Weather and UV Resistance | Water Resistance | Typical Temperature Range | Best Application Needs | Important Limitations | Safety and Handling Notes |
|---|---|---|---|---|---|---|---|---|---|
| Neutral-Cure Silicone | Clear to translucent; flexible rubber-like finish | ★★★★★ | Approximately Shore A 20–40 | Excellent resistance to sunlight, ozone, rain, and temperature cycling | Excellent after full cure; suitable for continuously damp areas when the product is specified for that use | Typically about −50°C to 150°C, depending on formulation | Glass, ceramic, metal, coated surfaces, windows, bathrooms, exterior joints, and mixed-material bonding | Generally not paintable; adhesion to oily plastics, untreated polyethylene, polypropylene, and PTFE is usually poor | Low-odor formulations are available. Provide ventilation and avoid contact with eyes and skin before curing |
| Acetoxy-Cure Silicone | Usually water-clear or translucent; flexible rubber-like finish | ★★★★★ | Approximately Shore A 20–35 | Excellent UV and weather resistance for most exterior sealing applications | Excellent after full cure | Typically about −50°C to 150°C, depending on formulation | Non-porous glass, glazed ceramic, aluminum, and general household sealing | Releases acetic acid during curing, which can corrode some metals and may be unsuitable for concrete, limestone, marble, and sensitive substrates | Noticeable vinegar-like odor during cure. Use adequate ventilation and follow the product safety data sheet |
| Silane-Modified Polymer | Clear to slightly hazy; elastic, tough finish | ★★★★☆ | Approximately Shore A 30–60 | Very good resistance to weathering and UV exposure; performance varies by formulation | Very good after curing; suitable for many indoor and outdoor joints | Commonly about −40°C to 90°C, with some formulations rated higher | Applications requiring both adhesion and sealing on wood, concrete, metal, glass, and many painted surfaces | May be less optically clear than silicone; some formulations can yellow or lose clarity under prolonged exposure | Often solvent-free and low odor. Avoid skin contact and allow complete curing before placing the joint into service |
| Clear Polyurethane | Clear to amber or translucent; elastic to semi-flexible finish | ★★★☆☆ | Approximately Shore A 30–55 | Good mechanical durability; direct, prolonged UV exposure may cause yellowing or surface degradation unless UV-stabilized | Good resistance after full cure; joint design must prevent prolonged water entrapment | Commonly about −30°C to 80°C, depending on formulation | High-strength bonding and sealing on wood, concrete, metal, masonry, and some plastics | Usually slower to cure than silicone; may require dry surfaces and can be difficult to remove after curing | Some products contain reactive chemicals or solvents. Use gloves, ventilation, and the supplier’s safety instructions |
| Clear Acrylic or Acrylic-Latex Sealant | Translucent to clear; can form a harder, less elastic film | ★★★☆☆ | Approximately Shore A 50–80 after cure | Moderate; suitable for protected or low-movement areas, but generally less durable than silicone outdoors | Moderate to good after full cure; not ideal for permanently wet joints unless specifically rated | Commonly about −20°C to 80°C | Interior trim, small gaps, painted surfaces, and areas where paintability is important | May shrink, crack, or become cloudy when exposed to movement, standing water, or severe weather | Usually low odor and water-based options are available. Protect from freezing before application when required |
| Clear Construction Adhesive | Clear, translucent, or slightly amber; generally thicker than a joint sealant | ★★★☆☆ | Varies widely; often harder and less elastic than silicone | Ranges from moderate to very good; confirm the product’s exterior and UV rating | Usually good after cure, but not every formulation is intended for submerged or continuously wet service | Often about −20°C to 80°C, depending on chemistry | Mounting panels, trim, decorative objects, and bonding porous materials where gap filling is needed | May not provide the movement capability required for expansion joints; clear appearance can change with thickness and substrate color | Some formulas contain solvents or isocyanates. Check ventilation requirements, open time, and curing conditions |
Choosing a clear adhesive sealant requires more than checking whether it dries transparent. The best product depends on the materials, joint movement, moisture, and expected temperature. Glass-to-metal projects often need strong adhesion with low shrinkage. Porous surfaces, such as concrete or untreated wood, may require a compatible primer. Test small areas first.
Compare the sealant’s curing system, flexibility, and resistance to sunlight. Silicone usually handles movement and moisture well, while polyurethane can provide firm bonding on many construction materials. Hybrid formulas may balance adhesion, flexibility, and reduced odor. Read the technical data sheet carefully. Check curing time, service temperature, elongation, and surface compatibility. A fast skin may hide slow curing beneath.
Application conditions often decide the final result. Clean away dust, oil, and loose paint before applying a steady bead. Use masking tape for sharper edges, especially around glass. I once applied a clear sealant to a damp metal frame, assuming it would bond after drying. The joint held briefly, then peeled at the edges. That mistake changed my preparation process. I now check surface moisture and perform a small adhesion test before full application. Clear products can still yellow, collect dirt, or reveal uneven beads. Good lighting helps expose these flaws. Leave ventilation space. Wear suitable gloves and follow the product’s safety instructions.
WhatsApp us